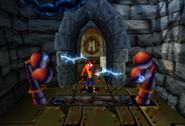
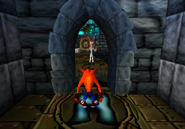
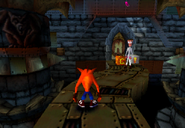
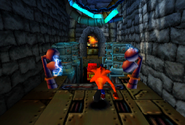
Be careful! It's the last, and one of the hardest, levels! Doctor Neo Cortex himself lies in wait! Keep going right and save Tawna!
- Level description
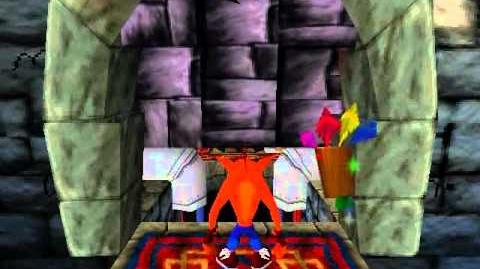
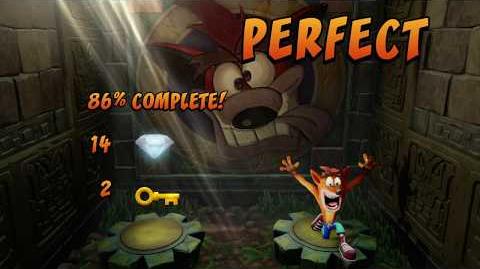
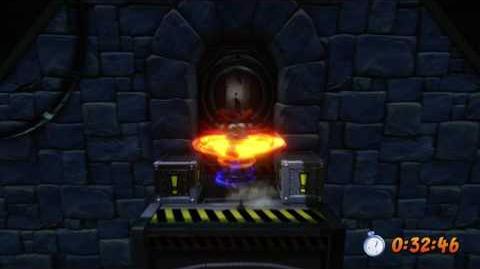
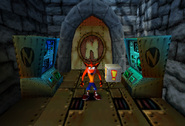
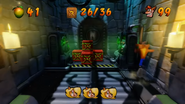
The Lab (ビリビリ けんきゅういん lit. Ripping Researcher in Japanese) is the twenty-ninth (including boss fights) and final full level and is the twelfth level of the third island in the original Crash Bandicoot game and the N. Sane Trilogy remaster of the first game. Fully clearing this stage by breaking all boxes without dying once rewards the player with the yellow gem. This is the only level in the game to use the mechanic of ! crates as switches to temporarily unlock doors; this, combined with the supercharged lab assistants and TNT crates hidden in clusters of normal crates, provides for a challenging platform challenge. There are also no Aku Aku crates in this level, but Crash can have an Aku Aku mask if it is brought into the level.
Walkthrough
Password
This corresponds to a save file at this level (87%, 0 keys, 21 gems).
Gallery
Translation of Aku Aku Hints in the Japanese Version
- This is Cortex's ripping happy lab. If you pass here, there's a stage that seems to have nothing. Keep getting perfect, and the secret will be revealed.
Trivia
- This level's name is a pun on the fact that this is Dr. Cortex's professional science laboratory.
- There is a glitch in this level. There is a cluster of crates containing an ! crate (which activates a door) surrounded by TNT crates, with a TNT crate on top, on the left side, on the right side, and in the front and back. However, if Crash stands in the corner of the ! crate and spins, the ! crate can be activated without any of the TNT crates exploding, which should not be possible.
- This is the only level where ! crates remain as ! crates even when hit. In other levels, they turn into basic iron crates. However, originally all ! crates in the game were to remain such after being hit.
- Later games no longer use ! crates, but rather use switches to activate something temporarily (Tomb Wader is a very notable such example).
- In the prototype, this level only contained two (breakable) crates, both checkpoints. Prior to the creation of gems, the only purpose of crates (aside from checkpoints, arrow crates, and TNT crates) were to collect items such as wumpa fruit, lives, and Aku Aku masks. It may have been that the lack of crates was because the developers didn't want the player to be able to collect such items in the last level, making it harder. This might be the reason why even in the final version, it is one of the few levels not to contain an Aku Aku crate (excluding the Japanese version, which has one Aku Aku crate). If this level had stayed that way, it would have by far the fewest crates of any level in the series, with the exception of Eggipus Rex in Crash Bandicoot 3: Warped, which has no crates at all.
- In the prototype, the Electric Lab Assistants will hurt Crash if he defeats them while facing them. It is always recommended to make sure to be facing away from them. Why this happens is unknown, but it is most likely a glitch.
- In the prototype, some of the doors moved up very slowly, annoying many players. These doors were removed/changed in the final version.
- In the prototype, the blobs that attack Crash don't always appear, making the level somewhat easier. Also, some of the electric fences don't have the electric balls shooting back and forth, also making the level a little easier.
- In the prototype, the doors don't have the "N" on them. Instead, they look like a brick wall.
- One of David Siller's early level design documents for this level included failed genetic duplicates of Ripper Roo as minor enemies. These kangaroos, referred to as Ripper Clones, were planned to surprise-attack the player by suddenly jumping toward Crash from out of view.
| Crash Bandicoot N. Sane Trilogy | ||
| DLC Content | Crash Bandicoot: Stormy Ascent Crash Bandicoot: Warped: Future Tense | |

